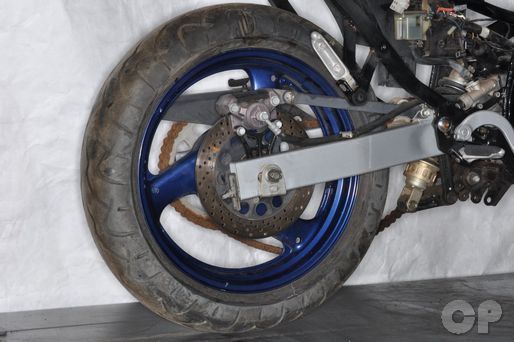
Rear Wheel
SAFETY FIRST: Protective gloves and eyewear are recommended at this point.
Removal


Remove the two brake caliper mounting bolts with a 12 mm socket.
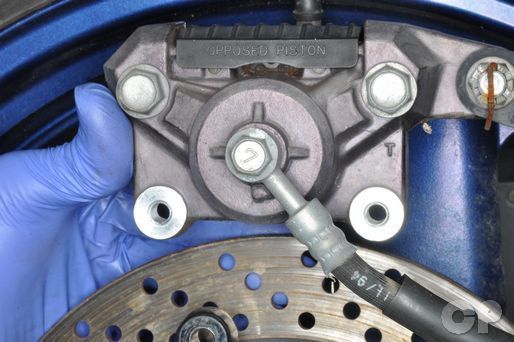
Lift the rear caliper off of the brake disc. Do not activate the brake pedal while the caliper is off of the disc.


Remove the cotter pin from the rear axle.


Hold the axle with a 17 mm wrench and loosen the nut with a 22 mm socket.


Remove the rear axle nut and right axle holder.


Tap out the rear axle with a rubber mallet. Remove the rear axle and left axle holder.
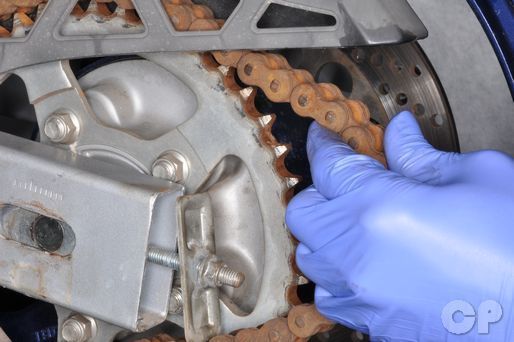
Push the rear wheel forward and slip the chain off of the rear sprocket.
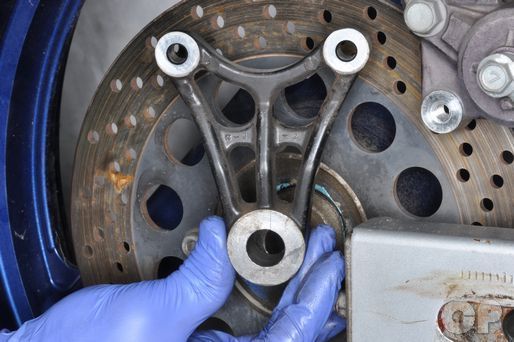


Remove the caliper bracket and collar from the right side of the hub as you remove the rear wheel.
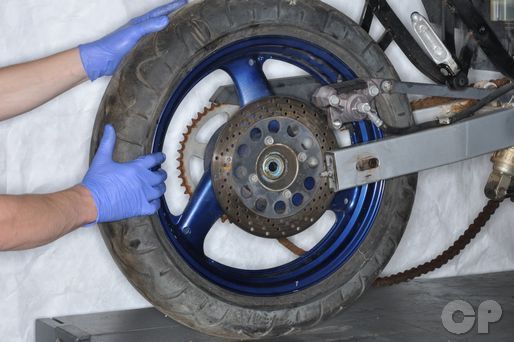
Remove the rear wheel from the swingarm.
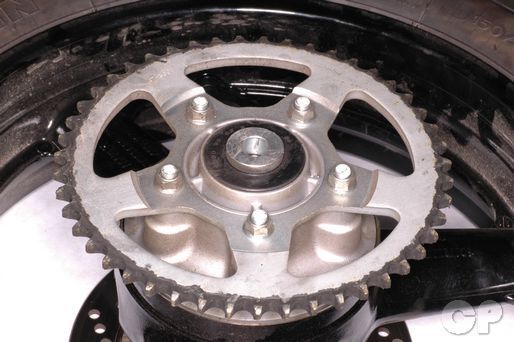


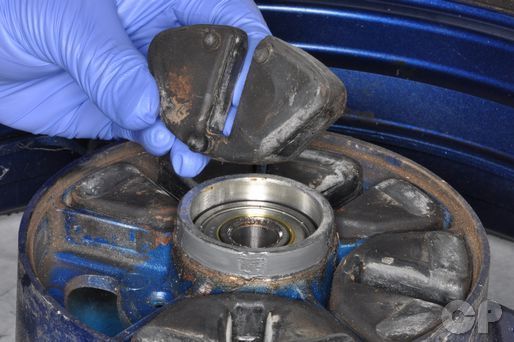
If you need to remove the rear sprocket go ahead and loosen the nuts while its mounting drum is still engaged with the wheel. Loosen the nuts with a 14 mm socket.
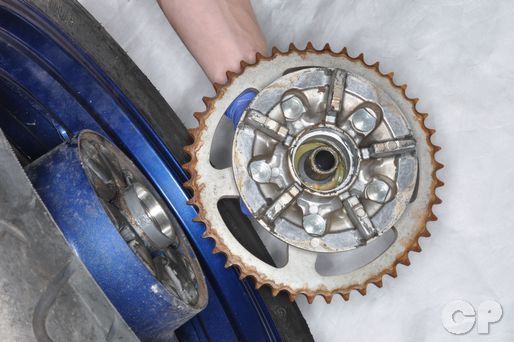
Remove the rear sprocket mounting drum.


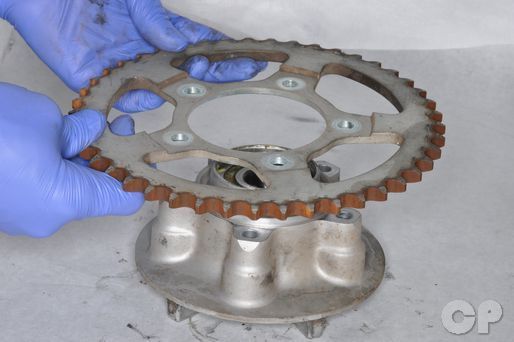
Remove the five sprocket bolts from the inside.


Remove the spacer from the outside of the sprocket drum and the retainer from the inside of the sprocket drum.


Inspect the rubber cushions of the cush drive for damage and deterioration. Replace the cushions as needed.
Inspect the rear wheel. See the Wheel and Axle Inspection topic for more information.
To remove the rear brake disc see the Rear Brake Disc topic.
Installation
Install the cushions into the cush drive.


Insert the sprocket mounting bolts from the inside of the sprocket mounting drum. Thread the nuts onto the bolts.
Install the retainer into the inside of the sprocket drum. Insert the spacer into the dust seal on the outside of the sprocket drum.
Set the sprocket drum into the cush drive.


Torque the sprocket nuts to specification with a 14 mm socket.
(Rear Sprocket Mounting Nut Torque: 48-72 N-m or 35.0-52.0 lb-ft)
Coat the hub side of the collar in grease and place it in the right side of the hub.
Install the brake caliper bracket between the wheel collar and the swingarm.
Fit the rear wheel into the swingarm and engage the chain to the rear sprocket.

Apply a light coat of grease to the rear axle. Insert the axle through the left axle holder. Slide the axle through the left side of the swingarm, the wheel, and the other side of the swingarm.
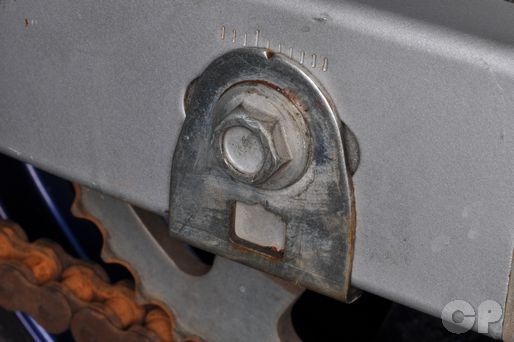
Place the right chain adjuster, washer and nut on the axle. adjust the chain slack. See the Drive Chain Adjustment topic for more information.
Hold the axle with a 17 mm wrench and torque the axle nut to specification with a 22 mm socket.
| ITEM | N-m | lb-ft |
| Rear axle nut (normal type) | 50-80 | 36.0-58.0 |
| Rear axle nut (self locking type) | 55-88 | 40.0-63.5 |
Install a new cotter pin and bend it to properly secure the rear axle nut.
Install the rear brake caliper. Guide the brake disc between the brake pads. Install the two mounting bolts and torque them to specification.
| ITEM | N-m | lb-ft |
| Rear brake caliper mounting bolt (600) | 15-25 | 11.0-18.0 |
| Rear brake caliper mounting bolt (750) | 18-30 | 13.0-21.5 |
Copyright - Cyclepedia Press LLC

Note: If you are viewing this document offline be sure to visit the latest version online at http://www.cyclepedia.com before attempting any repairs. Updates are made without notice.